If you want a layout with less wires, why not use WiFi?
- what does it do?
mqTrains uses WiFi to interface to an MQTT server (broker) to give access to the turnouts, sensors, masts, signals, semaphores, lights, reporters and all other electronic things that you would like to control or get input from, without need to run a “data” cable to it.
- why should I use it?
It is a very, very inexpensive way to control anything (except locomotives) on your train layout. Very easy to install (after you discover that the new technical terms are just that) and very simple to use.
Since there are no cables and data wires between modules, it is ideal for a modular layout that travels.
- how does it work with JMRI?
Just like any other system connection in JMRI (such as: NCE, Digitrax, LCC), you can set up an MQTT connection, and then (since version 4.22) create Turnouts and Sensors just like you would do with any other system. JMRI connects to the MQTT server with a network connection, WiFi or cabled, and will control your turnouts and monitor your sensors as if they were wired in.
- does it work with other software?
If you are comfortable writing code, almost all the programming languages out there like C, C++, Java, JavaScript, Python, Go, C#, Ruby to name a few has access to libraries for MQTT. JMRI actually enabled access to MQTT through its Jython interface and the Paho library long before it was added as a system connection. Since the IOT world is exploding, we would imagine that many other software products will add MQTT as a connection very soon. If your railroad software package has a programming interface like Jython, it is certainly able.
- where do I get it?
mqTrains is currently released in binary files on github, click on the downloads link above and find the instructions and programs listed.
- how do I set it up?
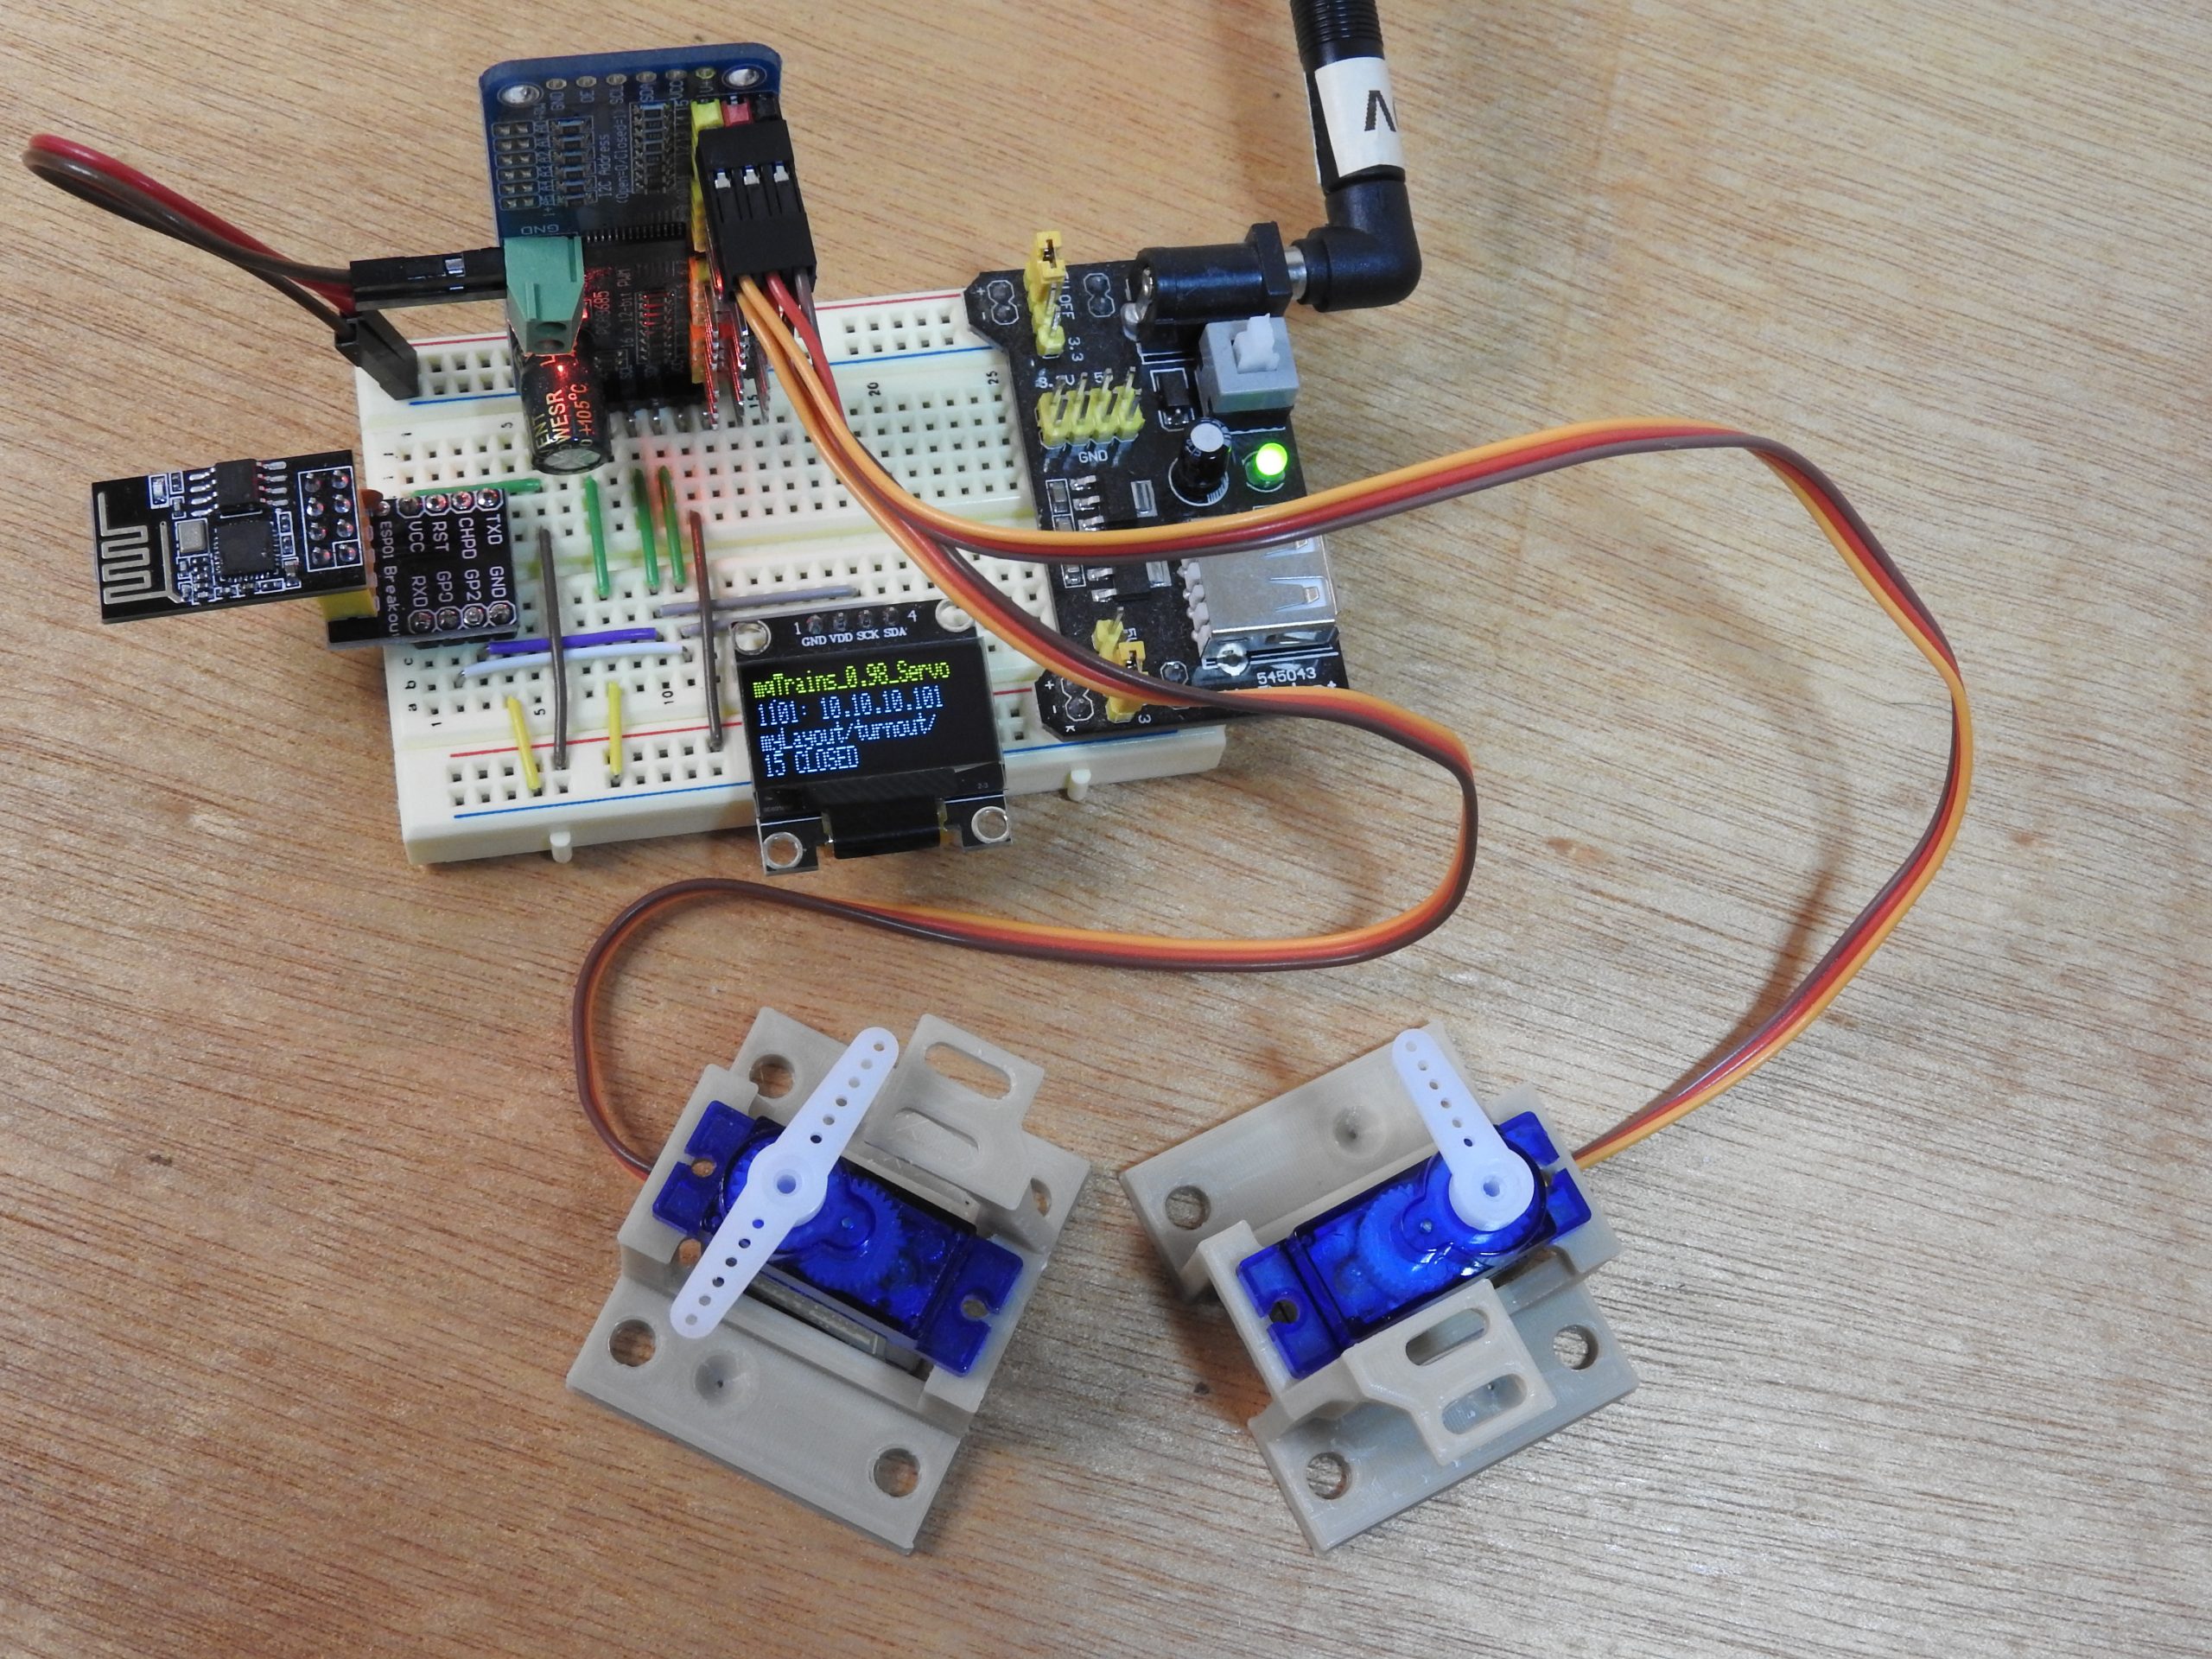
Once you have uploaded the code to an ESP device, you connect the hardware (i2c bus) and power it up. Then you use your phone to connect to the access point on the ESP (a temporary WiFi network created by the device) and you use a web browser on your phone to configure the device on how to join your own WiFi network. While you are at it, also provide the MQTT server’s address. Once you save and reboot the ESP, you determine what its new address is on your network (either a small LCD, watching the MQTT server, or the DHCP table in your WiFi router) and you use your phone or computer to connect to it again. (Keep in mind, this first part is only done once.) Now you use your browser to set up all the small details like where do the servo need to move to for Closing the points as well as Throwing them, if you are setting up a turnout. On the I/O board, is a pin an Input or an Output? Are there pins or servos that you’d like to Disabled, or Unlock? All done on the device’s own web page.
Even though IO is not released yet, you can configure JMRI now to have an MQTT system connection, set the Topics up for Turnouts and Sensors, go over to the Turnout table and start adding your Turnouts, and in the Sensor table, add your Sensors. Check the mqTrains documentation for details.
Could it be easier? Yes, but then you did not do it yourself!
- how much does it cost?
mqTrains? Nothing.
A controlled layout? Let’s do 8 servos on a small layout (and we round the numbers up to include shipping): 8 servos at $3 a piece = $24, one ESP8266 (Esp-01) with a USB 3.3V board = $4, one PCA9685 = $4. And now you need 4 wires between the ESP and PCA, a USB cable and a nice 5 Volt power supply to allow the servos to move without hiccup (like 3 Amps) = $10.
For ~$42 and you are controlling 8 servos. $5.25 per turnout, including the moving motor. Add the next 8 servos, it comes down to $4.13 per turnout. And you can control it from your phone! Your dispatcher can even control it all the way from Scotland or Queensland.
All because mqTrains = $0, MQTT = $0 and JMRI = $0!